Unsharp mask is a misleading term as it is actually a very good sharpening filter. The following was taken directly from Photoshop's documentation:
"Unsharp masking, or USM, is a traditional film compositing technique used to sharpen edges in an image. The Unsharp Mask filter corrects blurring introduced during photographing, scanning, resampling, or printing. It is useful for images intended for both print and online viewing.
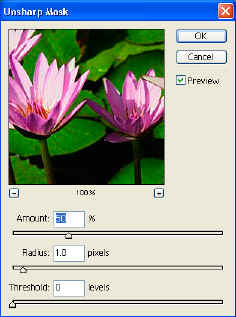
Unsharp Mask locates pixels that differ from surrounding pixels by the threshold (how much different in contrast) you specify and increases the pixels' contrast by the amount you specify (amount input box). In addition, you specify the radius of the region to which each pixel is compared (how large is the region of comparison). The effects of the Unsharp Mask filter are far more pronounced on-screen than in high-resolution output. If your final destination is print, experiment to determine what settings work best for your image"
BACK -
FIRST SLIDE
Steve Hoffmann's
Nature and Landscape Photography